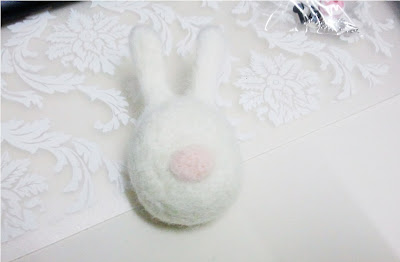
Saw some wool felt animal crafting kit at Daiso for RM5.
Got this cute bunny to be my first wool felt project. :)
Everything needed for the project is included:
wool, felting needle, accessories (eyes, beads, chain etc)
There's even extra ones for some of the tinier accessories.
In case some got lost.
1. Roll the wool into a ball shape. Still a big round shape now.
2. Start felting. The process is just repetitively pricking at the wool.
The wool got smaller and firmer into a tiny ball. That's the bunny's head.
3. Next up is the ears. Roll 2 long stripes and felt into ears.
Leave the end without felting so it's still soft and furry.
Attach the furry end to bunny's head and prick those into the head so it get's attached.
So far so good! :)
4. Rolling the pink wool into nose and mouth is the craziest part.
Things got out of hand at this point. >o<
The bunny's head kept rolling around so the nose got felt all over it and end up in a big lump.
5. Attach the eyes and bead for body.
Voila! My first woolen felt bunny.
Quite pleased with myself except for the nose part. :p
If you like handmade and crafts I think the kit is a good thing to get.
It's basic and mini so beginners won't get overwhelmed,
plus it's cheap so you can always get another one if the first one didn't work out.


nice! which daiso outlet u went to get this?
ReplyDeleteThanks! I got this from the branch at Queensbay mall :)
DeleteThis comment has been removed by the author.
ReplyDeleteim ady find it in mines and mid valley daiso but not found this felting kit ):
ReplyDeletehi Yanie, it's been awhile since I bought the kit so maybe they didn't restock the kit anymore
DeleteHello,i wanna wool felt bunny
ReplyDelete